If you want to create a customized envelope, whether for personal or professional use, but don’t want to invest the money having it done professionally, Microsoft Word has you covered. Creating a customized envelope in Word is simple thanks to a feature designed for the task.
Creating and Printing Envelopes in Word
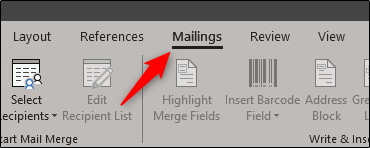
Go ahead and open up Word and select the “Mailings” tab.

Next, click the “Envelopes” button.

The Envelopes and Labels window will appear. This is where we’ll enter all of our information. In the “Delivery Address” box (1), enter the recipient’s address. The “Return Address” box (2) is where you’ll put your name and address. You can leave this out by ticking the “Omit” checkbox if you prefer. Once you’ve entered all of the information, click “Options” (3).

In the Envelope Options window that opens, you need to tell Word how you’ll be feeding the envelope into the printer.

Post a Comment Blogger Facebook
We welcome comments that add value to the discussion. We attempt to block comments that use offensive language or appear to be spam, and our editors frequently review the comments to ensure they are appropriate. As the comments are written and submitted by visitors of The Sheen Blog, they in no way represent the opinion of The Sheen Blog. Let's work together to keep the conversation civil.