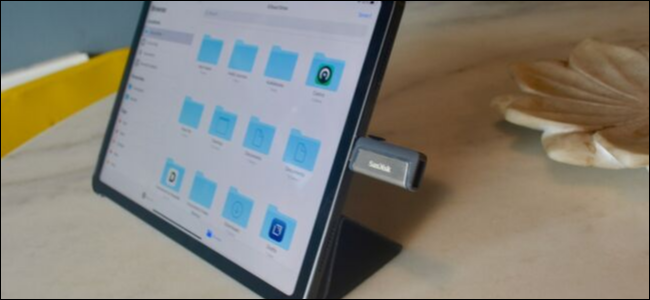
Thanks to iOS 13 and iPadOS 13, it’s finally easy to deal with external storage on the iPhone and iPad. You can connect USB flash drives and SD cards to copy and back up your data. Here’s how you do it.
How to Connect External Storage to iPhone or iPad
If you use a 2018 iPad Pro with a USB-C port and have a USB-C flash drive, all you have to do is plug in the flash drive.
If you have any other iPad or iPhone, though, you’ll need an adapter. You can use a Lightning to USB adapter to connect any USB flash drive, and this also works for a USB SD card reader.
Alternatively, you can purchase Apple’s standalone Lightning to SD Card Camera Reader.

Support for external hard or solid-state drives is iffy, at best. However, you can connect USB-C-based external drives directly to your iPad Pro via the USB-C port. Drives that require more power—especially those with spinning hard drives—require an external power source.
If you connect a drive and see a message that says, “This accessory requires too much power,” you’ll have to use a connector with a power pass-through. You can get these to work with iPhones and older iPads with a Lightning to USB 3 Camera Adapter, which lets you power your device (and the drive) via a Lightning port.
How to Copy Files From External Storage
We use the Files app to copy data to and from external storage. First, connect your USB flash drive or SD Card using one of the methods outlined above, and then open the Files app.
Go to the “Browse” tab. When you see your drive in the “Locations” section, tap it to see all the files and folders on your drive.

Post a Comment Blogger Facebook
We welcome comments that add value to the discussion. We attempt to block comments that use offensive language or appear to be spam, and our editors frequently review the comments to ensure they are appropriate. As the comments are written and submitted by visitors of The Sheen Blog, they in no way represent the opinion of The Sheen Blog. Let's work together to keep the conversation civil.