

Using a table of contents in your document makes it easier for the reader to navigate. You can generate a table of contents in Word from the headings used in your document. Here’s how to do it.
Add a Table of Contents
Regardless of the size of your document, using a table of contents can direct the reader to exactly where they need to be. In addition to making the document more reader-friendly, a table of contents also makes it easier for the author to go back and add or remove content if necessary.
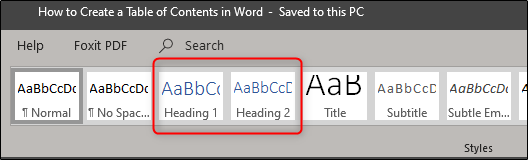
By default, Word generates a table of contents using the first three built-in heading styles (Heading 1, Heading 2, and Heading 3). To apply heading styles, select the particular style from the “Home” tab. If you’re not happy with the types of heading styles available, you can change the default heading style.
You can manage this in two different ways. You can either apply the heading styles to each section after you’ve finished the document, or you can add them as you go.
Once you’ve applied your heading styles, it’s time to insert your table of contents. The first thing you need to do is put the cursor where you want the table of contents to appear. Once ready, head over to the “References” tab and select “Table of Contents.”

A drop-down menu will appear. Here, you can choose between the three different built-in tables.
Post a Comment Blogger Facebook
We welcome comments that add value to the discussion. We attempt to block comments that use offensive language or appear to be spam, and our editors frequently review the comments to ensure they are appropriate. As the comments are written and submitted by visitors of The Sheen Blog, they in no way represent the opinion of The Sheen Blog. Let's work together to keep the conversation civil.